Planet Brompton

Mit dem Brompton als digitaler Nomade unterwegs

Ausrüstung

Do Germans love their bicycle?

Unfortunately, we are still rather stuck with the saying: Germans love their cars!
They clean, polish and spend huge amounts of money and time on inspections and maintenance. This changes, but still, when the automotive industry says: now it is time to spend money on an inspection, they will. Being afraid about the loss of value.

Do we need to check a bicycle?

Of course! Here is no bicycle that doesn’t need regular checks and renewals as well.
Wear and tear depends primarily on the conditions of use.
Fixed maintenance intervals, e.g. once a year, make sense if you tend to ride less. Flexible maintenance intervals are due if you drive more than average and if the conditions of use are extreme.
Does this sound familiar?
If you are one of those who are still struggling with your car, then it will.
I’m often asked how often you should do maintenance on a bicycle. And there you have the answer: more often than most people think.
At least once a year.

What you can do for your bicycle

Basic cleaning
Visual inspection
Lubrication
Bowden cables
Brakes
Pedals
Bottom bracket
Steering
Rims
Tyres
Light
Chain check


Of course, you can do all this by yourself, especially the „Basic cleaning“ but for the technical check at least, once a year, you should prefer a specialist. He can make a checkup and let you know what he would suggest to be done.

How you can expect more riding pleasure!

When the gears work smoothly again, the chain no longer rattles, nothing squeaks or cracks and the seatpost no longer slips down when riding. Which, by the way, looks pretty silly.
More safety when the brakes do their job, the tyres still have tread, the lights don’t go out every time you hit a cobblestone road.
New grips are due from time to time. Yes, this is also a wearing part in most cases.

Dear German Brompton riders, love your Brompton at least as much as your car, wash it, take care of it and bring it to inspections. You will get so much more pleasure out of it.
The Germans love their car! In the future it would be nice to say about us: Germans love their bicycles!

Of course, it is still a used bicycle, not a brand new one. But I also love it for all its little flaws and quirks.

Last but not least!

Please, check the tyre pressure regularly.
On a Brompton it is so much more fun, so much easier to cycle when you have the right air pressure in the tyres.
Mostly, it rolls best at 6.5 or 7 bar. But ask your Brompton Dealer, it depends on the kind of tyre.

We did a day city tour through Dresden and I was glad to have looked through my Brompton completely before.
No rattling, no shaking, the brakes perfect, the gears very smooth.
What a nice day Ride: City Tour Dresden!

14. Mai 2021 Ausrüstung, Brompton

Photoshoot with 2 „Liquorice Brompton“

Photoshooting

Aren’t we all a little bit in love with our little folding bikes? Some collect them, some use them to go to work, others make small or big trips with them and others dare to go on big trips with you: the Brompton folding bikes.

I have forgotten one group. Those who incessantly take photos of their Bromptons. I am one of them.
And YES, we also like to show ourselves with them: Selfie with a Brompton.

Why there has so much hype arisen around them, I don’t understand, but I also belong to those who are crazy about their Brompton.
And because I’m a photographer, the 2nd passion in my life, I asked a friend if we should not make a photo shoot with a Brompton. Curious: she does not even ride any bicycle.
Quickly I realized that it is not the best idea, to do a photoshoot with somebody being not familiar with bicycles. Even how to touch such a bike was difficult for her. Crazy.

Photoshooting

As a real bike junky I just had not thought about it, that there could be people who do not like or do not ride a bicycle.
Can you imagine?
After all, after the shooting she has seriously considered buying a Brompton.

The Photoshoot

We have met at the government district and so tried out a few things.
The 2 Brompton has lent me Daniel from Kultrad in Berlin.
We transported both in the original box with a Cargo Bike to the Spree.
If I wouldn’t have already a Brompton, I would have kept one of them. The two were black and white and somehow really graceful in appearance. And they reminded me of liquorice, my 3rd passion in life 🙂

I felt in love with them.
Actually only the diamonds were missing, don’t you think so 🙂

Remember this song? A little adapted 🙂

Men grow old
As girls grow old
And we all lose our charms in the end
But the Bromptons thy don’t loose their shape
Bromptons are a girl’s best friend

Just in case you are curious now, which Brompton I might be riding…. not a diamond, but my „beloved“ Brompton the Blue one: Turkish Green with Lagoon Blue!

I remember when Klaus bought his Brompton.
He thought it was chic. I didn’t see the use of it, not yet.
Then, a year later, the time had come. We had plans to travel with the Bromptons. To escape the winter months in Berlin. And that’s what we did.
4 months in Cambodia were followed by 4 months in Sumatra and then 4 months in Cairo, Sinai and Israel.
But you can read about that in other articles in this blog.
By the way, my recommendation: 2 coloured bromptons are real eye-catchers and are so much more fun.

18. März 2021 Ausrüstung, Brompton

Brompton Electric – tested in front of our door

Brompton Electric

We tested the Brompton Electric in and around Berlin.
Now you might expect a detailed test report. Something with asterisks and checkmarks, comparisons regarding ride comfort, battery charging capacity, max. payload, max. speed and so on. We didn’t test like that. We were more interested in how it feels to be on the road with an electric folding bike. And this is what came out!

Yes, the Brompton Electric is heavier. The motor and the battery weigh a few kilos.
But if you take off the battery, you can still lift and carry the Brompton Electric quite well. Around 14 kg, depending on the gear version.
We rode a bike with high handlebars and 6 gears and one with medium handlebars and 2 gears.
Day 1: We conquer the city.
Day 2: We head out to the countryside.

Cycling in the City

In fact, I don’t feel like I’m really faster than other cyclists. Even if the Brompton incredibly darts off, at the next traffic light, however, other cyclists have caught up with me again. Also climbing our hills here in Berlin, of course I’m faster in the beginning, but soon others caught up again. At 25 km/h the engine locks. More is not allowed. Then you have to pedal yourself. By the way, the engine brakes very little, so there is almost no difference using a Brompton without electric and cycling an electric one without using the battery.
So if you want to be somehow extremely fast in the city, which I find degenerates into stress, then you should go for a 6 speed. For me the 2 gear version is quite sufficient in the city.

On the country Side

Brompton Electric

We had 100 km ahead of us.
1st question for us was, would the battery hold.
2nd question, how does the Brompton Electric do on bumpy and dirt roads.

First of all, we had so much fun.
We drove most of the time with the first level of support, only on hills or headwinds, tim to switch to the second or even third level.
On dirt roads, you no longer have that steady pedaling that the sensors need to determine how much assist is needed. So we set the support there to 0.
But as I said, the bike rides great without assistance.
So we actually managed to ride about 80km with assistance, 20km without.
And in the evening, back home, we could have gone for another 100km 🙂
This is one of the difference to a Brompton without support, there I would have been in the evening certainly not still so relaxed.

Super was also the idea that we could at any time jump into a train or a bus, if it would then but annoying and perhaps too far for such a leisurely Sunday trip.
Simply fold again, which by the way works just like a Brompton without a motor, and get on. Nice idea.

Back in the city with full support

I wanted to test again driven exclusively with level 3. Full support. But then, after 35km my supported trip ended, the battery is empty.
Cycling with this 3 level support is of course also nonsensical. You have to brake constantly, because of far too much support and thus wastes the energy. But that also means that even with the 3rd stage you can probably get to at least 40km on straight stretches. But, we did not try.

Conclusion

A Brompton Electric is huge fun.
For us, however, it will probably take a few more years. The Accu (extra weight and caring for charging) means an abandonment of lightness compared to a Brompton without Electric.

Charging stations

If you feel like doing longer trips and you do not want to give up the Accu support, there are several stations to recharge and maybe it is a good time for a break anyway. We use this Bike.app.

If you feel like you want to try one by yourself, I recommend
KULTRAD – BROMPTON EXCELLENCE STORE BERLIN MITTE

19. Februar 2021 Ausrüstung, Brompton

Brompton on Sumatra, Indonesia

Sumatra
Sumatra is quite hilly

Travel light.

A Brompton is already a handy relatively light bike.
All the advantages of traveling with small luggage we make to nullify if we again take far too much luggage.
Believe me, the world is more civilized than you think.
And especially where it will take you with your folding bike.

Washing clothes is known in the most places on earth and if it does not make the hotel, then you can use the sink, and does not have to be washing powder maybe it goes also with soap. O.k., running water can be scarce, but then it doesn’t matter if you wear your shirt for the fifth day.

About the achievements of the fast dry materials in the clothing I need to tell you certainly no more.
Don’t take your favorite pants with you. I made that mistake and of course after 1 month they have already disintegrated into their components. They were simply worn too much.
But even then, thank civilization, you can buy clothes pretty much everywhere in the world too.

„Mosquito net“ and a very light „hut sleeping bag“.

There are two things I would not go without: a hut sleeping bag! If you snuggle into that, then you can to spend the night almost anywhere. And as 2nd a mosquito net, we use the Sea to Summit one. We always got it fastened somewhere when necessary and slept so much more quietly.

Sumatra
okay, ours was not so fancy 🙂

We each have a T-bag and for me, I was still without y backpack because of my camera equipment.

After 4 months Cambodia, we ended up going to Sumatra in winter 2018/2019. We were looking for a country with a lot of green and a lot of water.
And, what should i say? We got what we were looking for.

Sumatra

Sumatra, a country with active volcanoes, earthquakes, jungles and extremely heavy rainfall. We didn’t expect much and therefore didn’t plan very big tours.
Unlike most travelers, we were not interested in having „seen“ as many islands as possible, but rather to get a little deeper look at Indonesia and especially Sumatra.
And we got it.

Sumatra

Sumatra has been always on time: 4pm in the afternoon, the rain starts.
Everyday, we were not sure it would stop.

We did, what we always do, we explored the areas for a couple of days with the bicycles, went of to reach the next stop and explored the area again.
Sumatra has the most beautiful landscape I have ever seen so far.
Sumatra’s landscape is enormously varied and I’m sure, we will come back.
Next time without a backpack. That was the only trouble keeping it dry.
Hard rain did not bother the Bromptons at all. I was surprised. Even the T-Bag with the cover kept dry.

Here are a few impressions for you from us and the Bromptons on this trip and in case you are interested, we offer Brompton Cycling tours on Sumatra, just send us a message.

Sumatra

And then, sometimes it looked like in a travel brochure.

more about our Equipment…..

22. Januar 2021 Ausrüstung, Brompton, Reisebericht

Reise nach Kambodscha

Weil der Winter hier in Berlin wirklich deprimierend ist, wollen wir uns ab November für mehrere Monate nach Kambodscha verdrücken.

Da ich mein Geld als Softwareentwickler verdiene und dazu lediglich meinen Laptop und einen Internetzugang benötige, kann ich fast von überall aus arbeiten.

Andreas Job als Fahrrad-Guide wird im Winter sowieso im wahrste Sinne des Wortes auf Eis gelegt, so dass es auf für sie keinen Grund gibt, in Berlin zu bleiben. Im Gegenteil: für eine Fotografin ist eine Reise durch Kambodscha natürlich viel reizvoller als ein Winter in Berlin.

Und da unser Hund Anfang des Jahres gestorben ist, können wir jetzt ja auch wieder mit dem Flugzeug reisen.

Das ist der Plan:

  • mit dem Flugzeug fliegen wir nach Bangkok, Thailand
  • dort bleiben wir einen Tag und fahren dann mit dem Zug zum Grenzübergang nach Poipet, Kambodscha
  • auf unseren Bromptons fahren wir über die Grenze und dann mehrere Monate quer  durch Kambodscha
  • jeder hat nur Handgepäck und sein Brompton dabei
  • zusätzlich nehmen wir unseren selbstgebauten Anhänger mit, denn: da ist unsere Drohne drin

Bromptons verpacken

Um die Bromptons für den Flug gut zu verpacken, haben wir uns bei unserem Lieblings-Brompton-Händler Daniel von Kultrad zwei der Kartons besorgt, in denen die Räder vom Hersteller geliefert werden:


Eine andere Möglichkeit wäre natürlich gewesen, die Bromptons in foldon boxen zu verpacken, aber erstes haben wir nur Eine davon und zweitens müssten wir die Boxen dann die ganze Zeit mit uns mit schleppen. Der Vorteil von den Kartons ist, dass wir sie bei der Ankunft einfach entsorgen können.

Und wie verpacken wir die Räder dann auf dem Rückweg?

Ganz einfach: in Bangkok gibt es auch einen Brompton Händler, mit dem haben wir schon Kontakt aufgenommen und von ihm bekommen wir zwei Kartons für den Rückflug. 🙂

WASH, Spende für Kambodscha

Der Anhänger ist natürlich Zusatzgepäck und da er etwas ungünstige Abmessungen hat, kostet uns der Transport leider pro Strecke 210,- € zusätzlich. Aber ohne den Anhänger mit der Drohne geht es nicht, denn damit wollen wir jede Menge Lufbildaufnahmen von der Landschaft und den Tempeln Kambodschas machen.

Und diese Luftbildaufnahme brauchen wir unbedingt. Denn bei unseren Reisevorbereitungen sind auf ein tolles Projekt gestossen: WASH. Da wird Geld für sauberes Trinkwasser und sanitäre Einrichtungen für 9 Schulen mit je über 120 Schülern und ihren Lehrern gesammelt. Schnell haben wir beschlossen da mitzumachen, haben eine Webseite mit dem Spendenformular erstellt und wer etwas spendet, bekommt als kleines Dankeschön eine tolle Luftbildaufnahme von Kambodscha.

Falls Du auch etwas spenden möchtest, das ist unsere Webseite dazu: www.jokeair.com/donation

Ziemlich viel Technik

Hier habe ich mal alles ausgebreitet, was wir mitnehmen werden:

Unser Gepäck: fast nur Technik-Kram 🙂

Was auffällt: unser ganzen Gepäck besteht offensichtlich vor allem aus Computern, Kameras uns sonstigem Technik-Kram. 🙂

Interessant für die digitalen Nomaden unter euch, dürfte wohl dieser orange Puck hier sein:

Ein portabler Wifi-Hotspot: der Skyroam Solis

Es handelt sich um einen Skyroam Solis, der einem in über 100 Ländern einen schnellen WiFi Hotspot für bis zu 5 Geräte bereit stellt. Ich werde noch darüber berichten, ob er wirklich hält, was er verspricht.

Falls Du Dir auch Einen zulegen möchtest, kannst Du diesen Link hier benutzen, den Skyroam mir nach dem Kauf zugesandt hat. Damit bekommt Du ihn $20 billiger und ich bekomme 2 Tage WiFi geschenkt: Skyroam Solis Link.


12. November 2017 Ausrüstung, Reisebericht

Ein selbstgebauter Drohnen-Anhänger für das Brompton

Wie ihr vielleicht wisst, machen Andrea und ich Luftaufnahmen und Videos mit Drohnen: www.jokeair.com.

Damit wir die Drohne auf unseren Reisen mitnehmen und uns vor Ort dennoch nur mit dem Brompton fortbewegen können (ohne ein Auto oder Bus zu benötigen), musste ein Anhänger für das Brompton her.

Der Anhänger sollte :

  • im Flugzeug mitgenommen werden können (als Gepäckstück aufgegeben)
  • zu diesem Zweck abnehmbare Reifen und Deichsel haben
  • gross genug sein, um beim Flug die Drohne + Reifen + Deichsel aufnehmen zu können
  • gross genug sein, um alternativ auch mal das Brompton selber darin zu verstauen
  • stabil, staub- und wasserdicht sein, damit die Drohne immer gut geschützt ist


Eine Suche im Internet ergab schnell: sowas gibt es leider nicht 🙁

Ich bin dabei aber auf eine sympathische Firma aus München gestossen, die sehr schöne, hochwertige Fahrradanhänger herstellt: Hinterher.com. Und die haben einen Anhänger kreiert, der fast perfekt gewesen wäre: eine der bekannten, expeditions-tauglichen Zarges Alu Kisten auf Rädern! Leider nur fast perfekt, denn die Abmessungen der angebotenen Kisten passen nicht zu unserer Drohne.

Als ich dann aber entdeckte, dass man bei Hinterher sämtliche Teile wie Deichsel, Achsen und Adapter auch einzeln kaufen kann, war klar: ich baue mir meinen massgeschneiderten Anhänger einfach selber. 🙂

Die Teile

Zuerst habe ich mir die für mich ideal passende Zarges-Box bei Amazon bestellt.

Dann ein paar mal mit Herrn Peter Hornung-Sohner von Hinterher telefoniert, der mir erklärt hat, wie sie diese Anhänger zusammen bauen und mir jede Menge Tips mit auf den Weg gegeben hat. 

Schliesslich hab ich die folgenden Einzelteile bei Hinterher bestellt:

  • 1 x Standarddeichsel mit Weber-Anschluss
  • 1 x Deichseladapter mit integriertem Ständer 16″
  • 1 x V – Verstärkungsbügel
  • 2 x Laufrad komplett 16″ schwarz
  • 2 x Achsadapter Kunststoff
  • 2 x Steckachse (Quick-release-Achse) mit Alukappe schwarz
  • 4 x Gurtbandöse, Edelstahl geschmiedet
  • Schraubensatz


Im Baumarkt hab ich mir dann noch 4 Möbelrollen (bremsbar) besorgt. Diese wollte ich an den vier Ecken unter der Box anschrauben, damit die Kiste beim Handling im Flughafen vernünftig steht bzw. rollt (die normalen Laufräder sind dann ja abgenommen und liegen in der Kiste).

Zu allen Schrauben gehört übrigens auch immer eine Dichtscheibe (eine Art Unterlegscheibe mit einem Gummieinsatz), damit später kein Wasser an den Bohrlöchern in die Kiste eindringen kann.


Die Grundplatte

Das grösste Problem war die Grundplatte. Man kann die Deichsel- und Achsadapter nämlich nicht einfach in den Boden der Zarges Box schrauben. Dafür ist das Aluminium viel zu dünn, die Räder und die Deichsel hätten zu wenig Führung, alles würde sich hin- und herbiegen und schnell kaputt gehen.

Statt dessen benötigt man eine stabile Siebdruck-Platte die fest unter dem Boden der Zarges-Box verschraubt und mit einem Silikon-Kleber verklebt wird. Auf dieser werden dann alle Adapter und Rollen angebracht. Damit alles nicht zu schwer wird, sollten diverse Aussparungen aus der Platte gesägt werden. Hinterher bietet fix und fertig vorbereitete Siebdruck-Platten an. Aber eben leider nicht passend zu meiner Kiste.

Die Platte soll möglichst genau unter die Zarges Box  passen und alle Aussparungen und Bohrungen sollten so genau wie möglich platziert sein, damit die Räder schön parallel laufen. Von Hand und mit der Stichsäge wäre das eine ziemliche Quälerei. Richtig gut geht das aber mit einer computergesteuerten Fräse. 🙂

Da ich schon seit längerem Lust hatte,  den Umgang mit so einer CNC Fräse zu erlernen, hab ich kurzerhand einen entsprechenden Kurs im Fab Lab Berlin belegt. Dort hat mich der Fräsen-Profi Christoph Iwasjuta betreut und einen richtigen Intensivkurs mit mir gemacht.

Auf der Webseite von Hinterher konnte ich mir das Bohrschema für deren Anhänger herunterladen. Das hab ich als Grundlage  genommen, mit der freien Software Inkscape meinen eigenen Entwurf gemacht und dabei alles auf die Abmessungen meiner Zarges-Box angepasst. Aus der Inkscape Datei werden dann mit der Software EstlCam die Fräsbahnen festgelegt und der sogenannte GCode erzeugt, der schliesslich die CNC Fräse steuert.

Im Baumarkt hab ich mir eine grosse, 12 mm dicke Siebdruck-Platte besorgt und bin damit ins Fab Lab marschiert.

Der Fräse dann bei der Arbeit zuzusehen ist absolut faszinierend. Mit hoher Geschwindigkeit und dennoch ganz genau, wurden alle Aussparungen herausgeschnitten und die Löcher gebohrt. Zum Schluss wurde meine fertige Grundplatte auf 1/10 mm genau aus der grösseren Baumarkt-Platte herausgeschnitten. Cool! 

Zuhause habe ich alle Schnittkanten der Platte noch zweimal mit Klarlack überstrichen, damit kein Wasser eindringen kann.


Zusammenbau

Die beiden Achsadapter für die Räder, der Adapter der die Deichsel aufnimmt sowie die vier Möbelrollen an den Ecken werden alle mit Schrauben befestigt, die vom Inneren der Kiste durch den Kistenboden und dann durch die Grundplatte gesteckt werden. Ausserdem wollte ich drei weitere Schrauben im Mittelbereich hinzufügen, um die Grundplatte auch dort sicher zu fixieren.

Das bedeutet: ich muss 35 Löcher in den Boden meiner teueren Zarges-Box bohren! O weh.

Da ich das etwas gruselig fand, hab ich zu dem Thema erstmal ein wenig gegoogelt und dann das Bohren von dünnem Aluminiumblech an einer kleinen Platte aus dem Baumarkt geübt.

So hab ich es gemacht und so war es dann doch ganz einfach:

  • die Bohrstelle und die Bohrer immer ein wenig schmieren (ich hab dazu Balistol genommen, das ich sowieso schon hatte)
  • zuerst das Bohrloch möglichst genau ankörnern
  • mit einem kleinen Metallbohrer vorbohren
  • mit dem Stufenbohrer auf den richtigen Durchmesser bohren
  • mit einem Senker von beiden Seiten entgraten


Die Bohrlöcher hab ich zunächst markiert, indem ich die Grundplatte aufgelegt, fixiert und einen dünnen Filzschreiber durch deren Bohrungen gesteckt habe. Nachdem alle Löcher gebohrt waren, hab ich überprüft ob alle Bohrungen auch an der richtigen Stelle sitzen, indem ich wieder die Grundplatte aufgelegt habe und durch alle Löcher Schrauben gesteckt habe. Ging problemlos. 🙂


Dann ging alles ganz fix: 

  • Grundplatte mit Hilfe eines Zahnspachtels mit einem Silikon-Kleber einstreichen
  • Platte auflegen und alle Teile von innen durch den Boden der Zarges-Box und durch die Grundplatte verschrauben
  • Bei allen Schrauben immer eine Dichtscheibe verwenden, damit kein Wasser eindringen kann
  • Kleber einen Tag trocken lassen


Die Räder und die Deichsel können anschliessend einfach in ihre entsprechenden Adapter gesteckt werden und rasten dort ein.

Anhänger fertig! 🙂

Ein paar Tage später hab ich dann noch die 4 Gurtbandösen auf dem Deckel der Box angebracht. Das ist auf Reisen bestimmt praktisch, da man da dann z.B. den Rucksack auflegen und festzurren kann und ihn beim Radfahren nicht immer auf dem Rücken tragen muß.


Anhängerkupplung

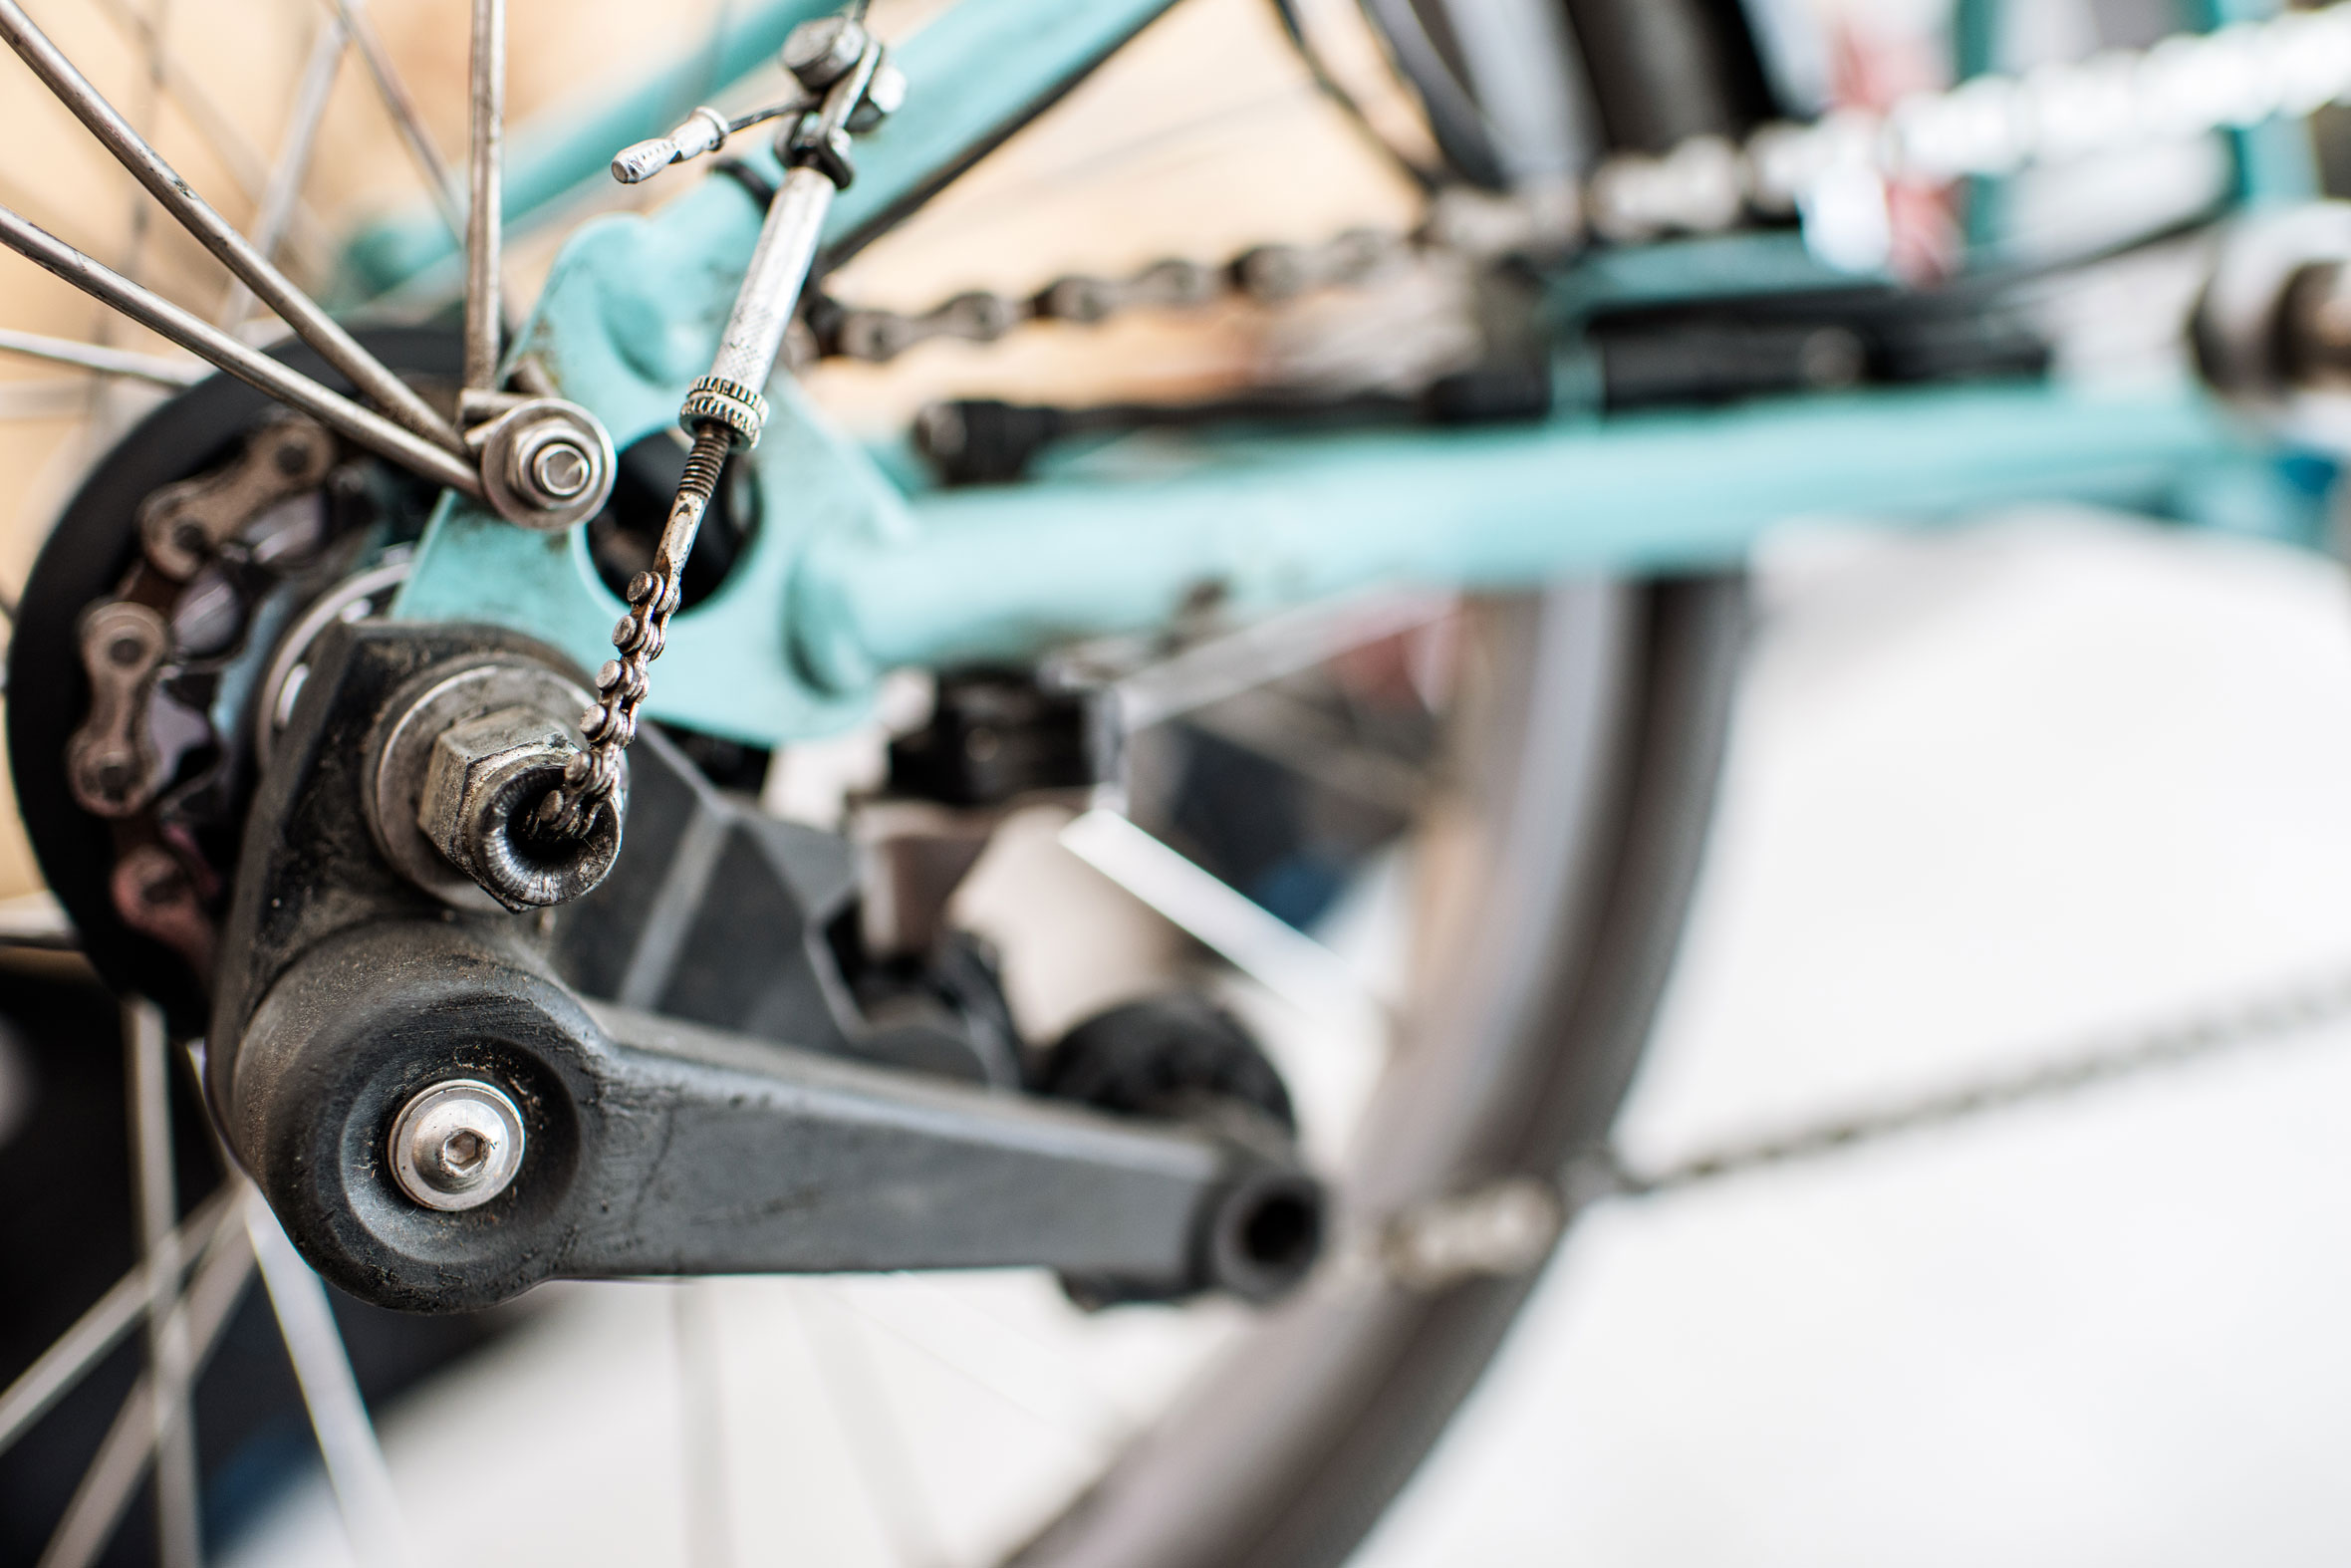
Die Deichsel von Hinterher wird mit einen Anschluss von der Firma Weber geliefert. Um den Anhänger nun auch mit dem Brompton zu verbinden, benötigt man das entsprechende Gegenstück, die Weber Kupplung.

Die Kupplung wird an der Hinterachse vom Brompton angeschraubt. Dabei wird auch ein von Weber sogenannter „Polygoneinsatz“ auf die Achse gesteckt, der verhindern soll, dass sich die Kupplung drehen kann. Leider passte der Einsatz nicht so richtig, irgendwie bekam ich die Achsmutter nicht mehr richtig fest, weil der Polygoneinsatz zu dick war.

Erst als ich die „Nase“ am Polygoneinsatz mit der kleinen Trennscheibe auf die Hälfte ihrer Dicke reduziert hatte, rutsche alles gut zusammen und ich konnte die Achsmutter ausreichend weit anziehen.


Testfahrt

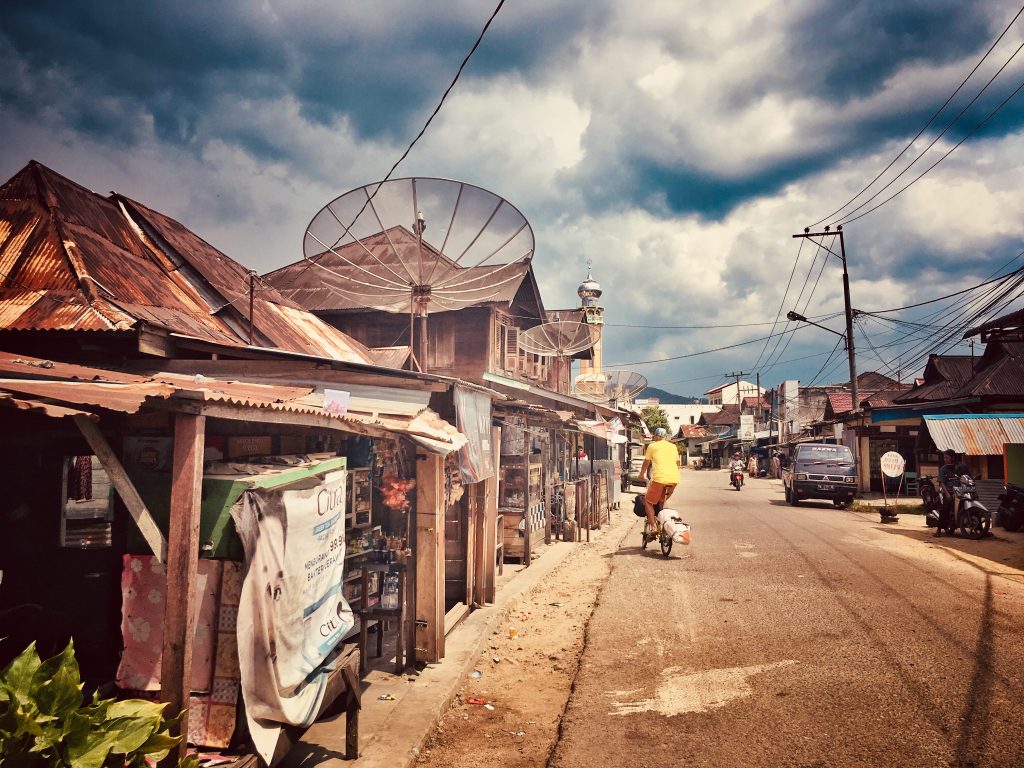
Und dann ging es auf eine kleine Testfahrt quer durch Berlin zum Tempelhofer Feld inkl. Drohne und Luftaufnahmen. 

Der Anhänger läuft wie eine Eins!!!

Einziges Problemchen: ich habe keinen Ständer an meinem Brompton. Braucht man normalerweise auch nicht, weil man ja einfach das Hinterrad nach unten klappen kann und das Brompton dann auf seinem Gepäckträger steht. Aber das geht natürlich nicht, wenn am Hinterrad der Anhänger dran hängt. Ich muss das Rad also immer irgendwo anlehnen, wenn der Anhänger dran ist.


Kosten

Insgesamt ist dieser Anhänger leider doch sehr, sehr teuer geworden. Ich kann mich höchstens damit trösten, dass sämtliche verbauten Teile von absoluter top-Qualität sind und der Anhänger daher sicher lange halten wird. Oder sich geg. auch gut verkaufen lässt.

Hier die Aufstellung der Kosten (alles inkl. MwSt):

  • 348,20 Amazon, Zarges-Box
  • 455,70 Hinterher, Deichsel, Räder, Adapter usw.
  • 28,80 Amazon, Weber Kupplung
  • 49,14 Baumarkt, Siebdruckplatte, Kleber, Schrauben, Lack, Möbelrollen, Werkzeug usw.
  • 12,00 Fab Lab Berlin, Fräse für 15 Minuten mieten


Gesamtkosten: 893,84 €

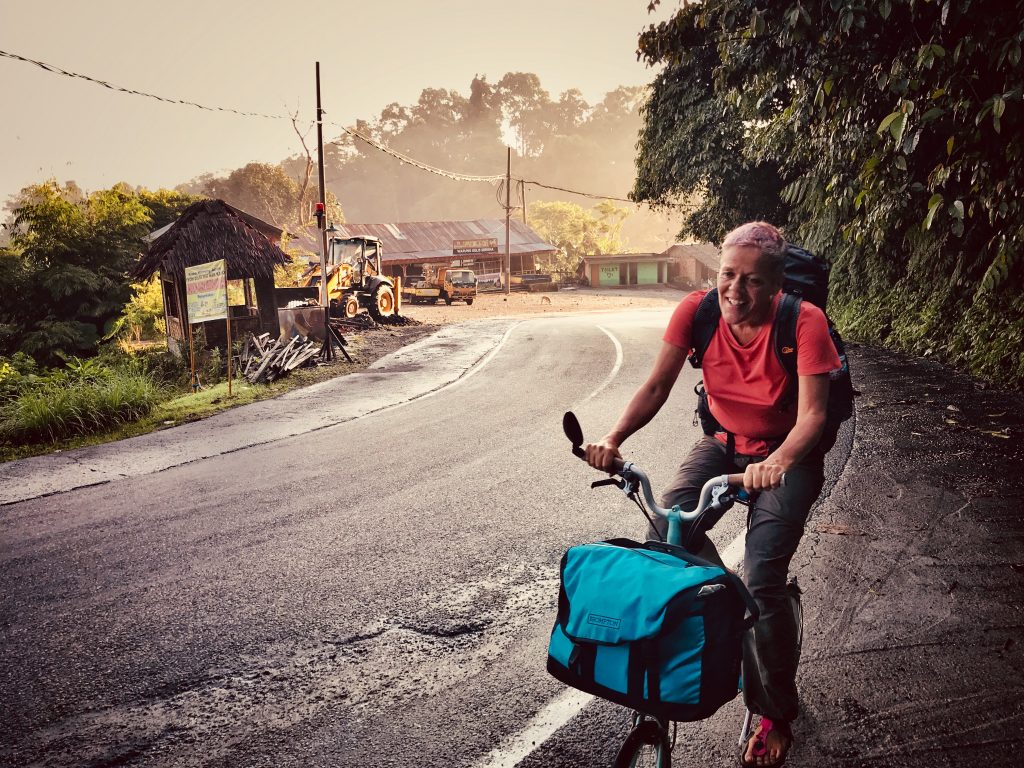
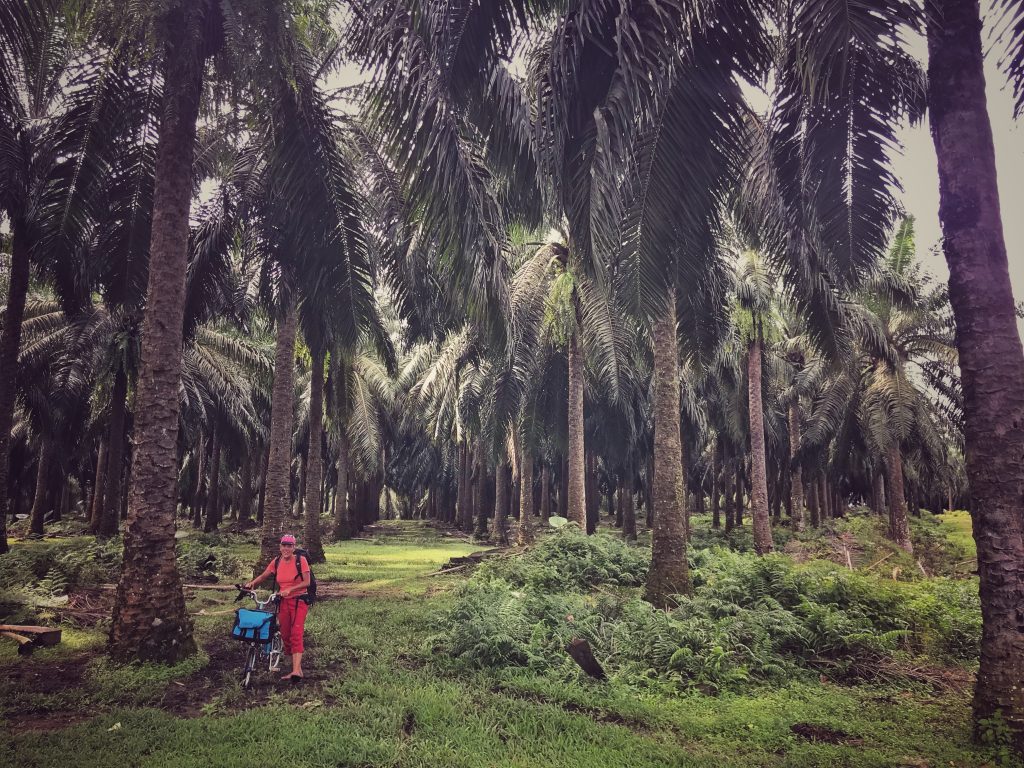
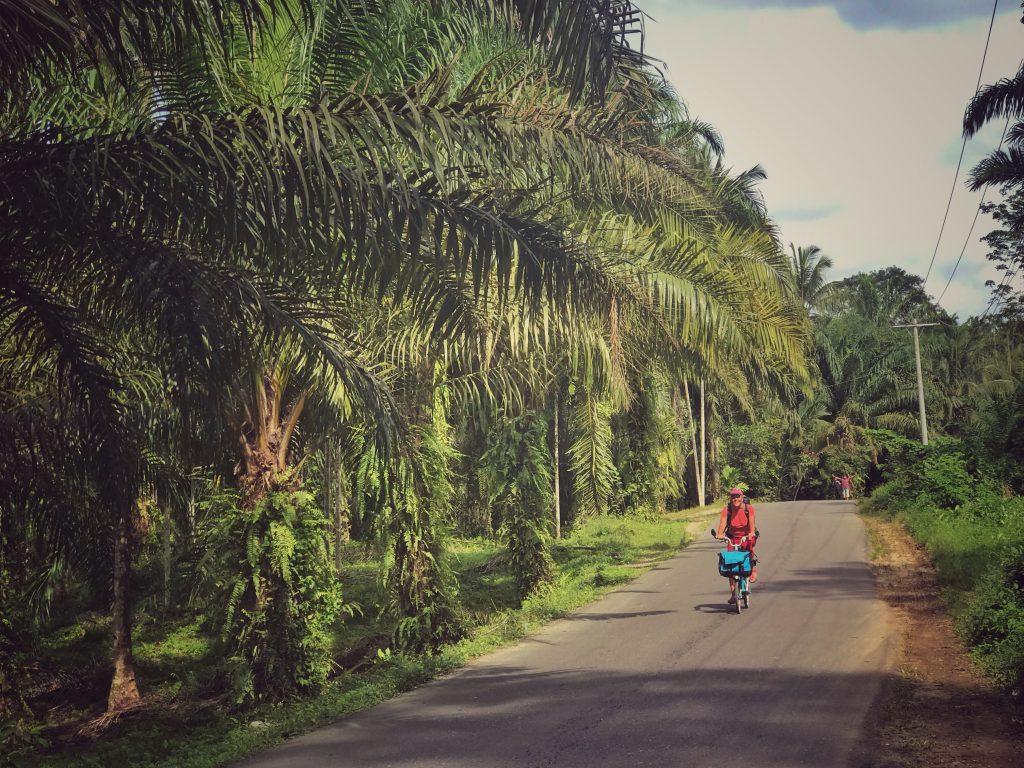
Wie wir damit durch Kambodscha gefahren sind könnt ihr hier sehen: Kambodscha mit Brompton, Anhänger und Drohne.


5. Dezember 2016 Ausrüstung, Brompton